• 25 Posts
  • 583 Comments
Joined 11 months ago
cake
Cake day: July 29th, 2023

help-circle

  • A very related question to ask is: did your parents, or extended family, ever help you financially?

    Here’s my answer.

    Have I ever received help from my parents and/or extended family? Yes. I was able to live rent free after high school while I found my way. When I eventually started college I was able to live at home and commute. My family started a college fund for me when I was little, so I was able to cover about 15% of my in-state tuition. We also got a cash loan from my Grandma to put toward a down payment that we paid back over the course of a few years. Without it we wouldn’t have been able to buy our house.

    Am I getting help from my parents or extended family now? No, I haven’t for years. Money and support have started flowing the other direction. I’ve given my mom a (used) car and also let her live with us for a year and a half while she switched careers.
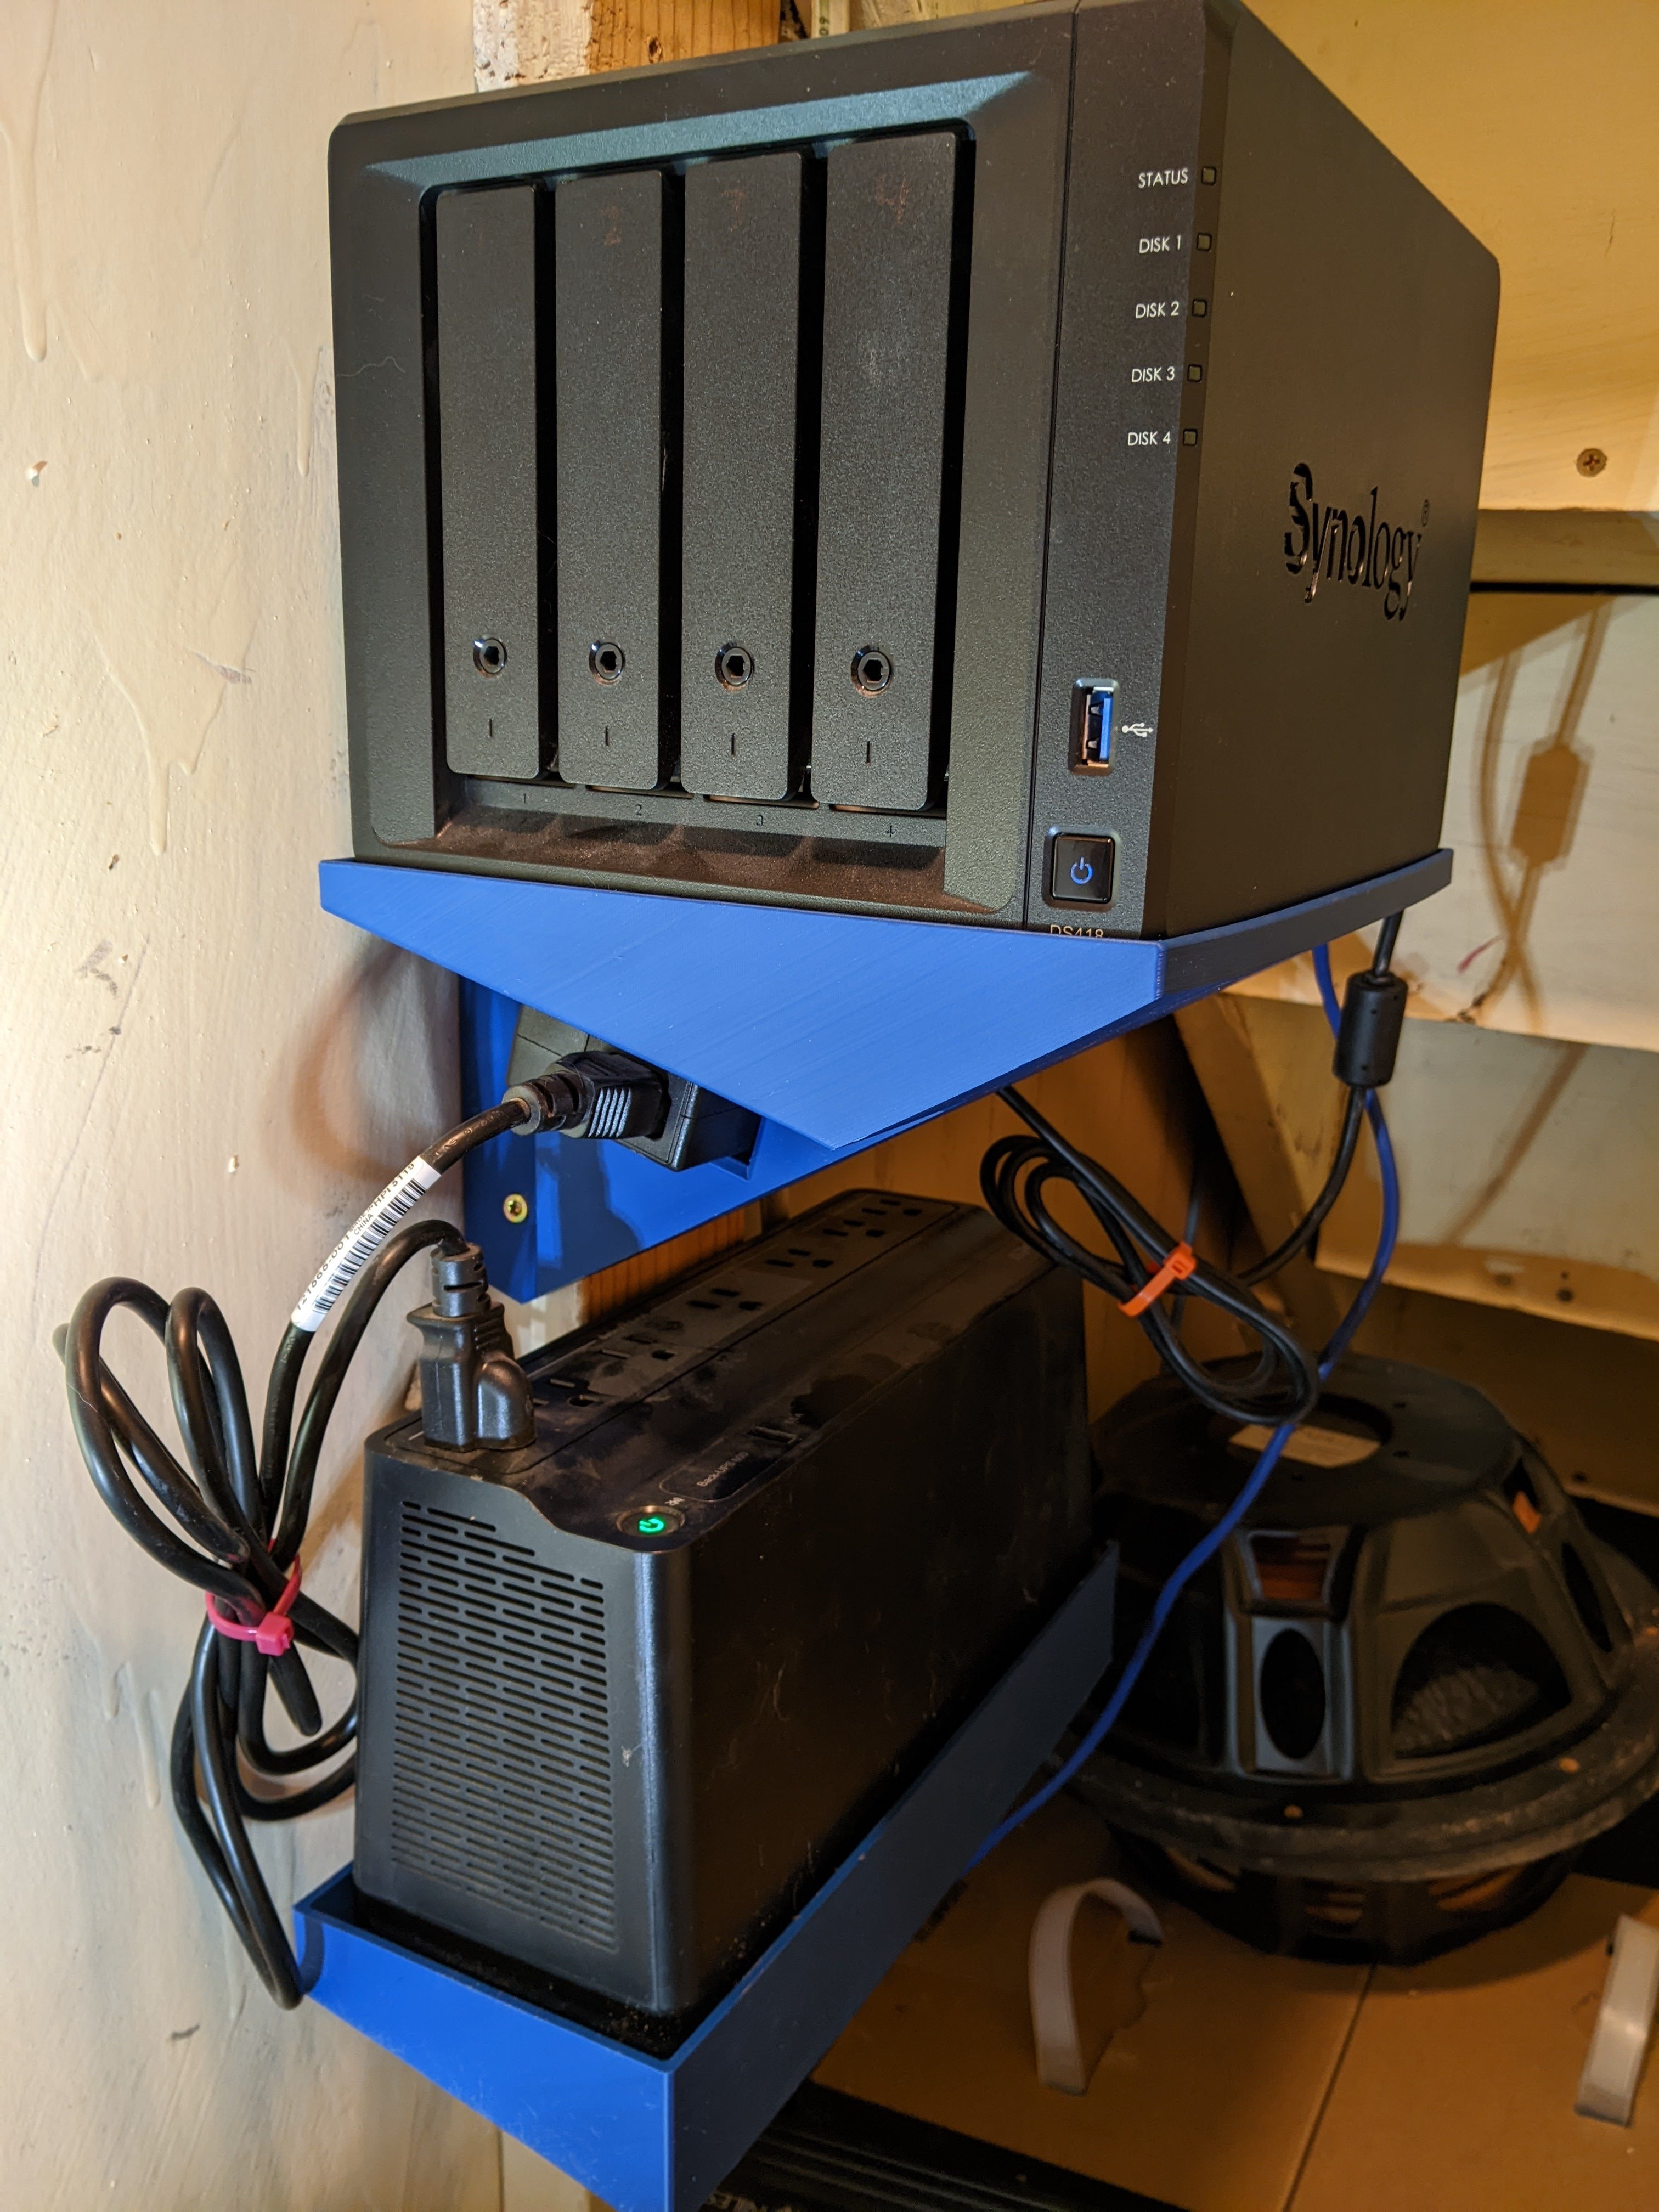
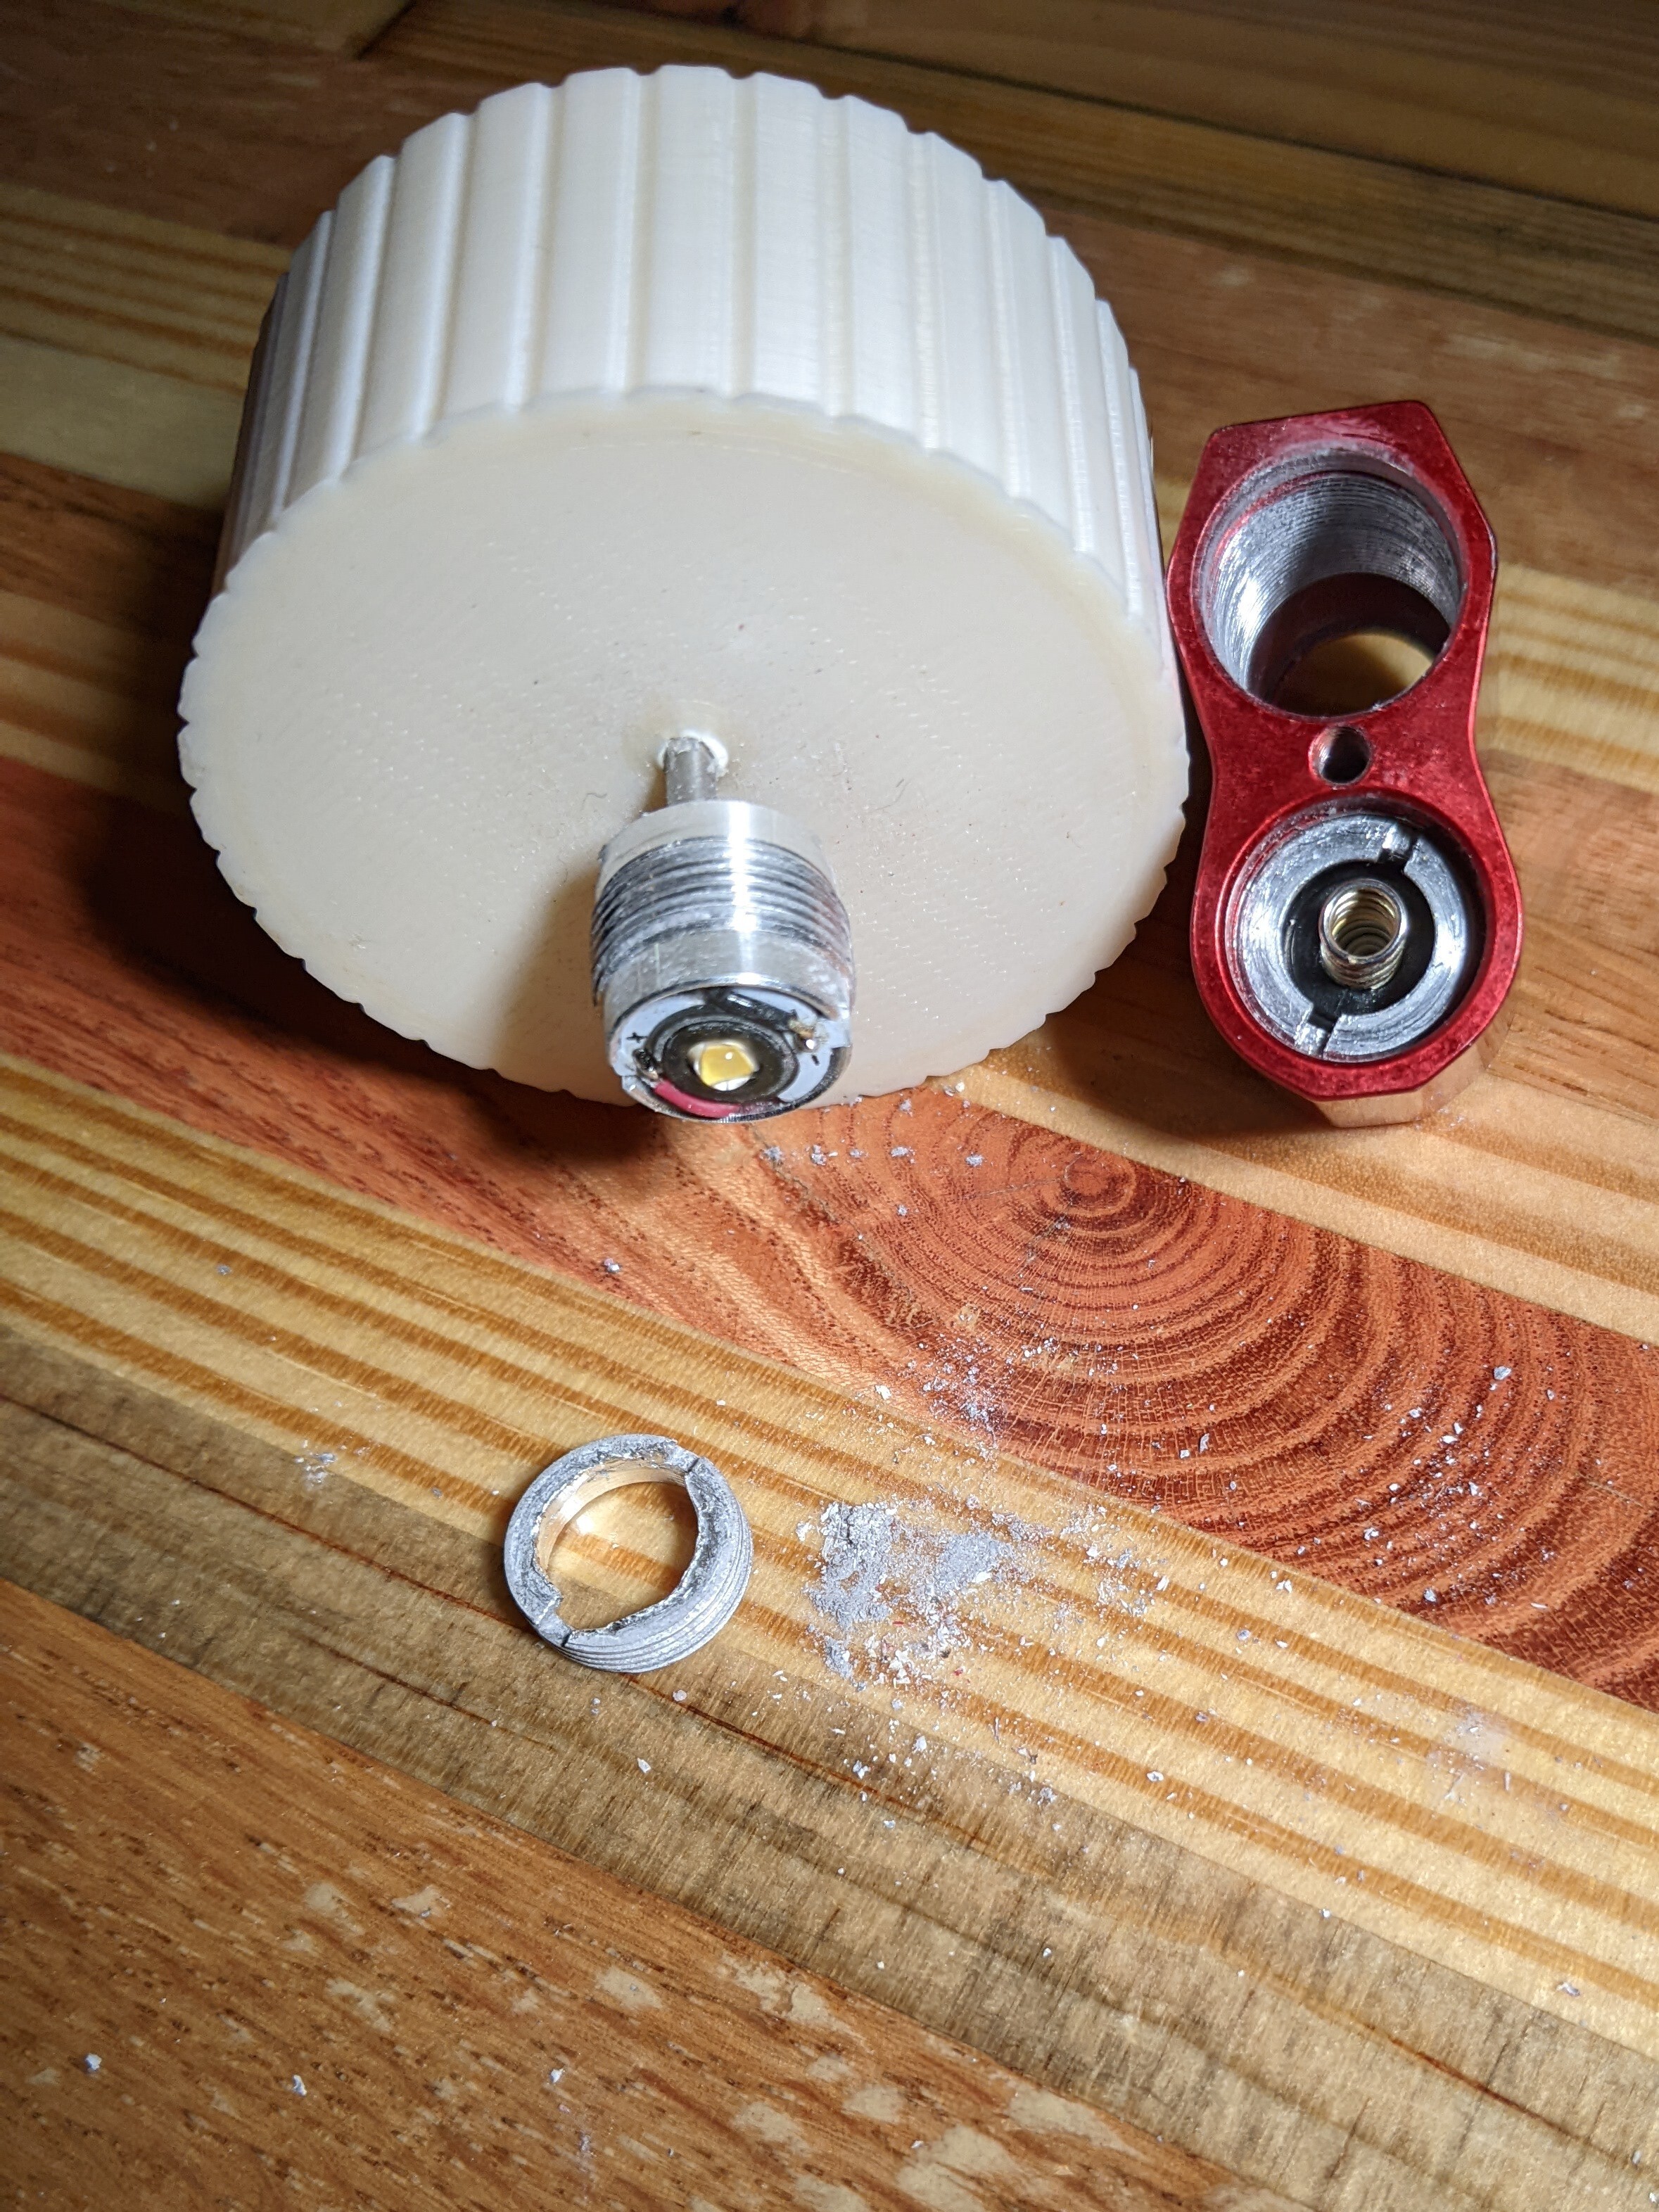

  • It is all about trade-offs, but the tradeoffs have to be situational.

    Considering only shutter speed and a “static” subject, you have to consider whether or not your subject is actually static. For example, are there flexible things present (plants, etc) and is it windy? For something like a desert landscape with zero motion your shutter speed can be as low as you want it to be (note that you might need to block some light from reaching the sensor using a ND filter). For “still” people you probably don’t want to go too low because we’re constantly in motion. That said, ever rule was made to be broken. Want to photo stars? Don’t use a super long shutter speed - you’ll get star trails. What’s that, you want star trails? Bump shutter speed even more so they look intentionally vs somewhat smeared balls of light. Sports and wildlife are basically the only scenario where you need a fast shutter speed… until you want some motion blur. Granted, motion blue and sports will still probably be a fairly fast shutter speed.

    Aperture follows a similar arc - do you want shallow depth of field, do you want to see more of the foreground/background, maybe you forgot your ND filter and want a slow shutter so you have to stop down, maybe it’s really dark so you have to use a fast (wide aperture) lens wide open.

    The only thing you universally want to take one way is ISO and that way is low. Unless you want some grain. Or you’re shooting something with motion indoors and you can’t compromise any more on shutter speed or depth of field. Or your lens aperture is already wide open and you still need more light.

    When staring off you might want to try shutter or aperture priority, based on the situation, and let the camera handle the other two values. Heck, I still do this 95% of the time 15 years later.


  • First, nice photo! Even “old” gear can take great photos. Throw motion and/or low light (with a fast lens) into the mix and you’ll beat a modern smartphone.

    The quick lead into the exposure triangle is:

    • ISO is basically “gain” applied to the photons that hit the sensor. Some gain = fine. More gain = you start to run into signal to noise ratio challenges
    • shutter speed helps you freeze the action, or can also let the action blur on purpose. Examples of intentional blur include panning photos (think auto racing) and long exposures (at night or during the day with the aid of a ND filter)
    • aperture. This is the ratio of focal length to lens aperture. Keep in mind it’s 1/x, so as x grows the actual aperture is getting “stopped down” (aka closed/smaller). Wider aperture (aka small denominator) = less depth of field and more light will hit the sensor. Stopping down = more depth of field and generally more sharpness/less vignetting, but if you take this too far you’ll hit diffraction and lose sharpness

    You wind up trading values against each other in various scenarios, which is why it’s called the exposure triangle. It’s very much a “you pick two and deal with the third” situation. Which two you prioritize really comes down to what you’re trying to accomplish.

    For your barn photo’s exposures, let’s talk tradeoffs. It sounds like you know that your ISO value was too high, especially for a static subject and good light. So how to get it to go down? You could do a mix of:

    • using a slower shutter speed. Unless you have a tremor, the rule of thumb is minimum shutter speed should be more than 1/focal length. You could have easily shot this at 1/100, if not lower. That would cut ISO down to around 1600
    • open your aperture. f/14 is very closed and likely isn’t needed unless you really want to see something deep in the background/foreground. You’re also likely losing some sharpness due to diffraction

    Happy shooting! Feel free to ask follow ups.


  • You’re four forks deep now Slic3r to Prusa Slicer to Bamboo’s slicer to Orca. It also borrowed a lot of ideas from Super Slicer. Since it’s open source, and has been gaining some momentum, it seems to have a decent amount of contributors

    Why Orca?

    • all the features you know and love from things up the tree
    • a revamped UI
    • built in tuning tests (temp tower, extrusion multiplier, volumetric flow, pressure advance, etc)
    • great Klipper integration if that’s your jam

  • IMALlama@lemmy.worldtobirding@lemmy.worldExtreme Preening
    link
    fedilink
    English
    arrow-up
    2
    ·
    8 days ago

    Excellent photo! I fell into team photographer for my kiddos T-ball team and the parents really liked some photos of the kids being kids during games - playing in the gravel, making faces, etc. Many people appreciate well executed “normal” phoses, but it seems like well executed photos of not quite normal activities get more appreciation.


  • Glad you found the reply helpful!

    It sounds like you have the right lens for your situation. With sports I feel like you’re always going to be compromising on focal length (too tight for close action, too wide for far action). It sounds like you’re reviewing your EXIF info, so you can certainly use past data to help inform what focal length you’re using the most.

    I would personally lean on shutter priority unless you can guarantee that you’ll never over-expose. Clipped highlights obviously aren’t recoverable. I don’t know that I trust myself enough to watch the histogram and we’ve had many games that were partly sunny - oscillating between direct and indirect sun. It would be nice to be able to say “increase shutter speed if necessary otherwise bump ISO” but that’s sadly not a real shooting mode.

    My 150-500 is a fairly slow lens, but since it’s on a FF body it’s amazing what it can see through. Chain link fences don’t completely disappear, but they’re a lot less visible than they were on my somewhat faster 70-300 on a crop body.


  • If you want to print miniatures that are actually miniature in scale, a resin printer is probably the way to go. That said, you need to wash prints, cure prints, properly dispose of waste materials, etc. This article talks about their differences and shows somr a/b comparisons halfway through it. You can get pretty good detail with a small nozzle on a FDM printer, but resin will still blow it away.

    As for a budget printer, most are generally pretty reliable but if you want good results you’re probably going to need to fiddle with them. You’ll also probably need to fiddle with them to keep them running and/or optimized (for example, better fan shrounds for your hot end, etc). I didn’t mind somewhat ugly prints from my i3 Plus, so I didn’t need to do very much fiddling beyond some basic mods over the 5 or so years I was fairly actively using it - especially after I replaced the bed springs with silicone and printed snug fitting thumb wheels.

    There’s nothing wrong with an “old” printer. I bought a Monoprice branded Wanhao Duplicator i3 Plus a little over 7 years ato and from a pure feature perspective it’s not that different than the base Ender v3. The biggest advances are in quality of life things, like z-offset calibration and “auto leveling”, but it’s worth saying that most budget printers can’t adjust their extruder mechanically to be in plane with the build plate like say a Voron, so they compensate by tweaking z-height as the extruder moves between high and low spots. Geared reduced extruders on direct drive setups are also preferable over driving the extruder directly from a stepper motor like my old i3 Plus or early Ender v3 models.

    Printers are generally very modifiable, so if some new whiz-bang feature comes out in a few years you’ll likely be e able to adopt it to your printer.


  • First, keep your camera in AF-C and shoot in bursts. Bursts do two things: increase the odds of getting a sharp photo and maximize the chances of capturing just-the-right moment (for example, a catch). Do not use AF-S. I suggest not attempting manual focus, but you do you if that’s what you’re into.

    3D is what Nikon called “tracking” on their DSLR bodies. It tracks your subject as it moves around somewhat decently. I’m not sure how well it works on a D7500 with lots of potential subjects, but the idea is that you put the focus box over your intended subject, engage tracking, and the camera will follow the subject around as it moves. You can learn how this works easily in your house. Put a cup on a counter, engage tracking, and pan the camera around while keeping the cup in frame. Your camera should keep a focus box over the cup. If it doesn’t, odds are you didn’t engage tracking so try again until you get a feel for it.

    I would use either 3D tracking or single point AF. For single point AF, simply keep the focus box over your subject and you can basically guarantee it will be in focus. Assuming your lens can focus fast enough, you can’t miss. This is how I shot 95% of auto racing, along with youth sports before I got a long lens for my new (to me) FF body. You really can’t miss if the focus box is over your intended subject and there’s nothing obscuring your line of sight.

    Do not use auto area, 9 point, etc because you’re going to want to control where the camera is focusing when there are lots of people on the field. Most cameras will generally go for the closest subject, but the action point could be behind them.

    The minimum required shutter speed depends on the pace of action, as well as whether or not you’re trying to introduce some blur intentionally (eg motorsports). 1/1000 is probably a good starting point. Evaluate your photos and go from there. I can’t imagine that the 1/1600 you were shooting at was the cause of soft photos, unless you have fairly pronounced hand tremors.

    What lens are you using? You’re going to want a decent amount of reach. I’m a big fan of the Nikon AF-S 70-300mm f/4.5-5.6 VR on a crop body and used it for many years on my D5300. It is a FX lens, but the focus is fast and accurate, the VR is good, it’s pretty light for what it is, and since you’re using the center of a full frame image circle on your DX body you’re going to have zero vignetting. I shot it 100% hand held and never had any issues doing so.

    I’ve recently started taking photos at youth sports and I can tell you that you’ll want the reach if you’re at any distance from your subject. I often wound up 100-115 feet from home plate and spent quite a bit of time at the 500mm end of my 150-500 lens on my current FF body.

    Assuming your lens is sharp wide open, set your camera to S and let the camera manage ISO and aperture as needed. Don’t step down unless you have to. Unless you have a fast prime, odds are you’ll need all the light you can get.

    Finally, know the sport you’re shooting, anticipate the action, and if you can move around try to position yourself so you’ll have good line of sight on that action. Players looking in your direction is ideal, but you’ll at least want to be able to see their eyes looking at whatever they’re focusing on. Bonus points if that thing is also in frame.